World-class smash burgers – crisp edges, juicy beef
The right mince, a hot pan and one firm press. The rest is all about balance.
It sizzles, smokes and smells of beautifully browned beef. A truly great smash burger needs neither truffle mayonnaise nor a tower of toppings – but it does demand attention to detail. Here we build the burger from the crust up, with melted cheese, tangy sauce, a soft bun and crisp toppings.
 By Lina BergFood editor · European and Nordic cuisines – Italy, France, Spain, Greece and Swedish home cooking
Translated from Swedish with AI assistance.
Go to the recipes (2) ↓A sizzle that promises dinner
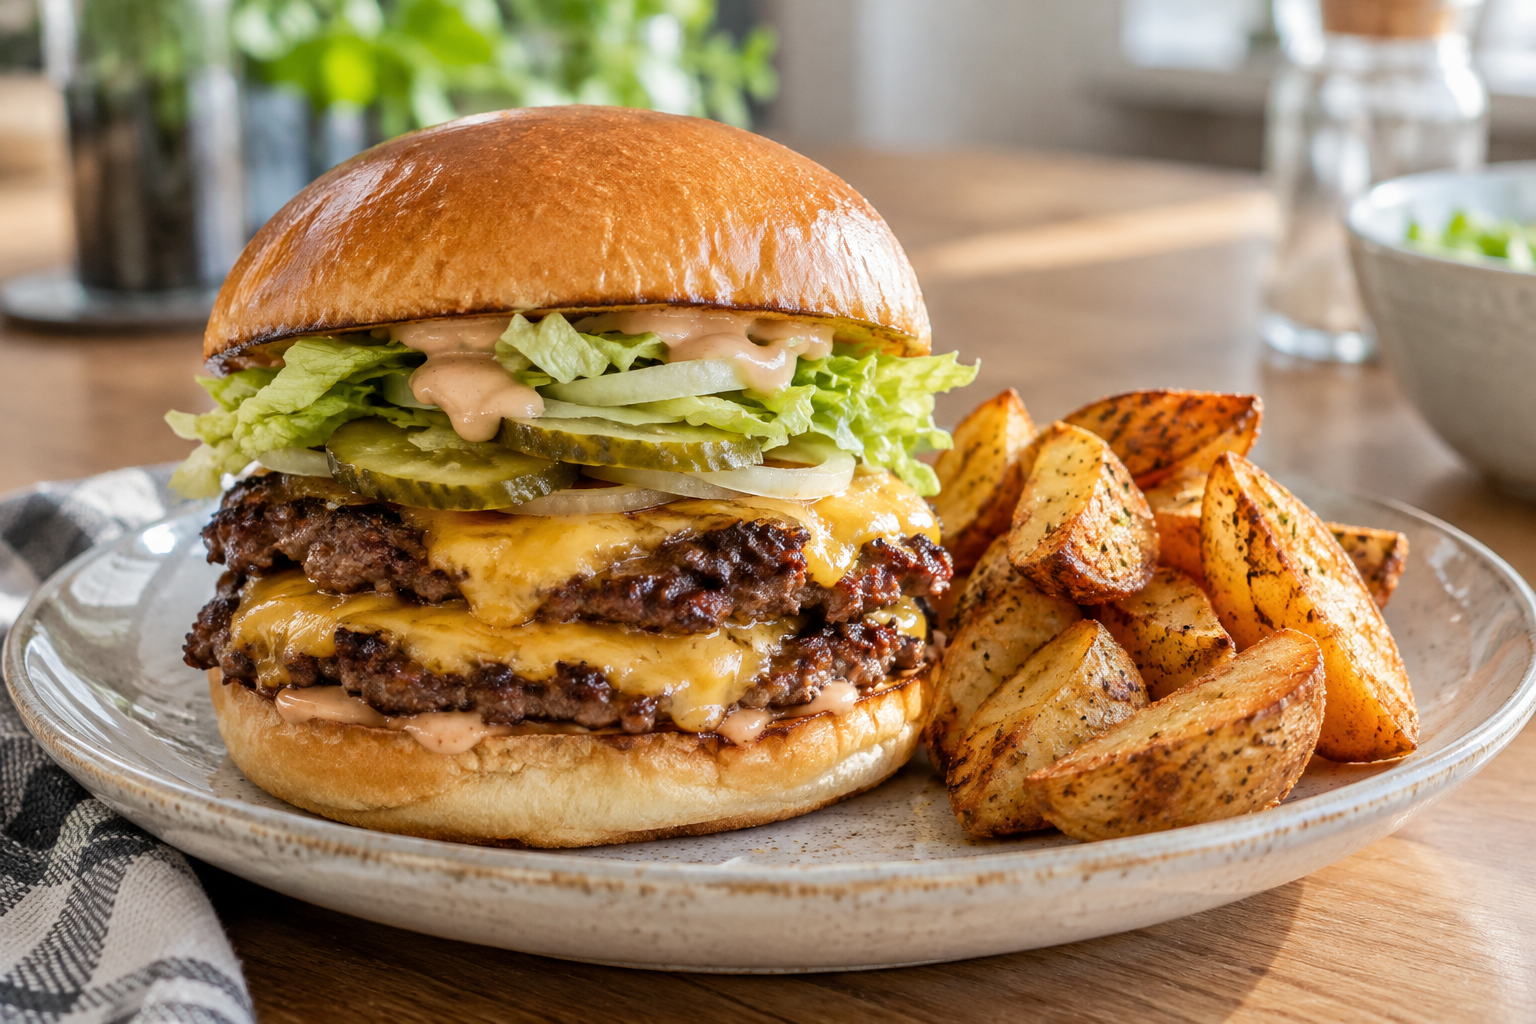
The ball of mince hits the iron with a low sizzle. A broad spatula presses it flat, and the meat immediately starts bubbling in its own fat around the edges. After a minute or so, the aroma of seared beef rises from the pan. When the burger is scraped free, a deep golden-brown crust comes with it, thin and crisp as lace at the edges. The cheese goes on; the bun is waiting. Now it is seconds rather than minutes that count.
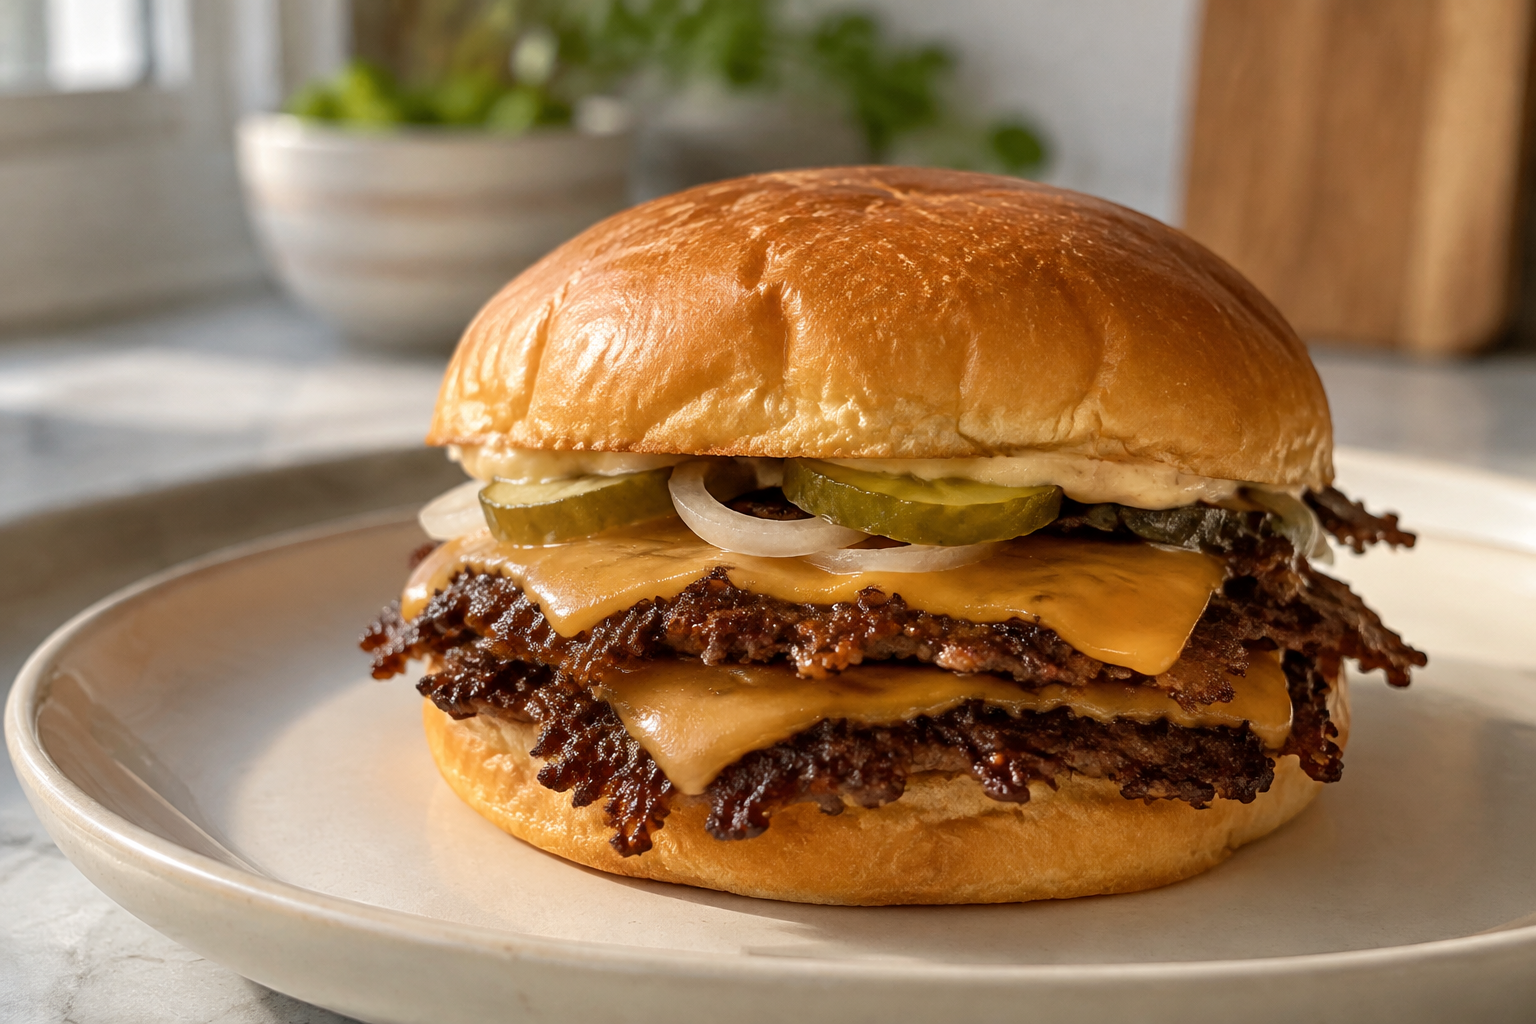
That is the smash burger’s great appeal: lots of seared surface for the amount of meat. Where a thick hamburger builds its character on a juicy interior, a thin burger draws its strength from browning. Two thin patties with cheese between them give you both more browned surfaces and a soft centre. The result should be intensely savoury and easy to bite through, not dense or overloaded.
World-class results at home do not mean the most ingredients or the most expensive cut of beef. They mean every component doing its job. The mince brings flavour and fat, the bun holds everything together, acidity adds brightness and the cheese binds it all. Tomato, onion and lettuce are welcome, but not so much that the crisp beef disappears beneath a blanket of cold vegetables.
And the most important preparation? Set the table before you start cooking. A smash burger does not improve while it sits waiting for someone to find the mustard. Put out cold drinks, napkins and accompaniments, then let the hot pan set the pace.
From American griddles to Swedish kitchens
The history of the hamburger is full of competing origin stories. Several American towns and food vendors have been named as the first to serve ground beef between bread. Naming a single inventor is tricky: chopped meat, minced-meat patties and sandwiches already existed in various forms. The American hamburger emerged around the turn of the twentieth century and became a cornerstone of the country’s fast food during that century.
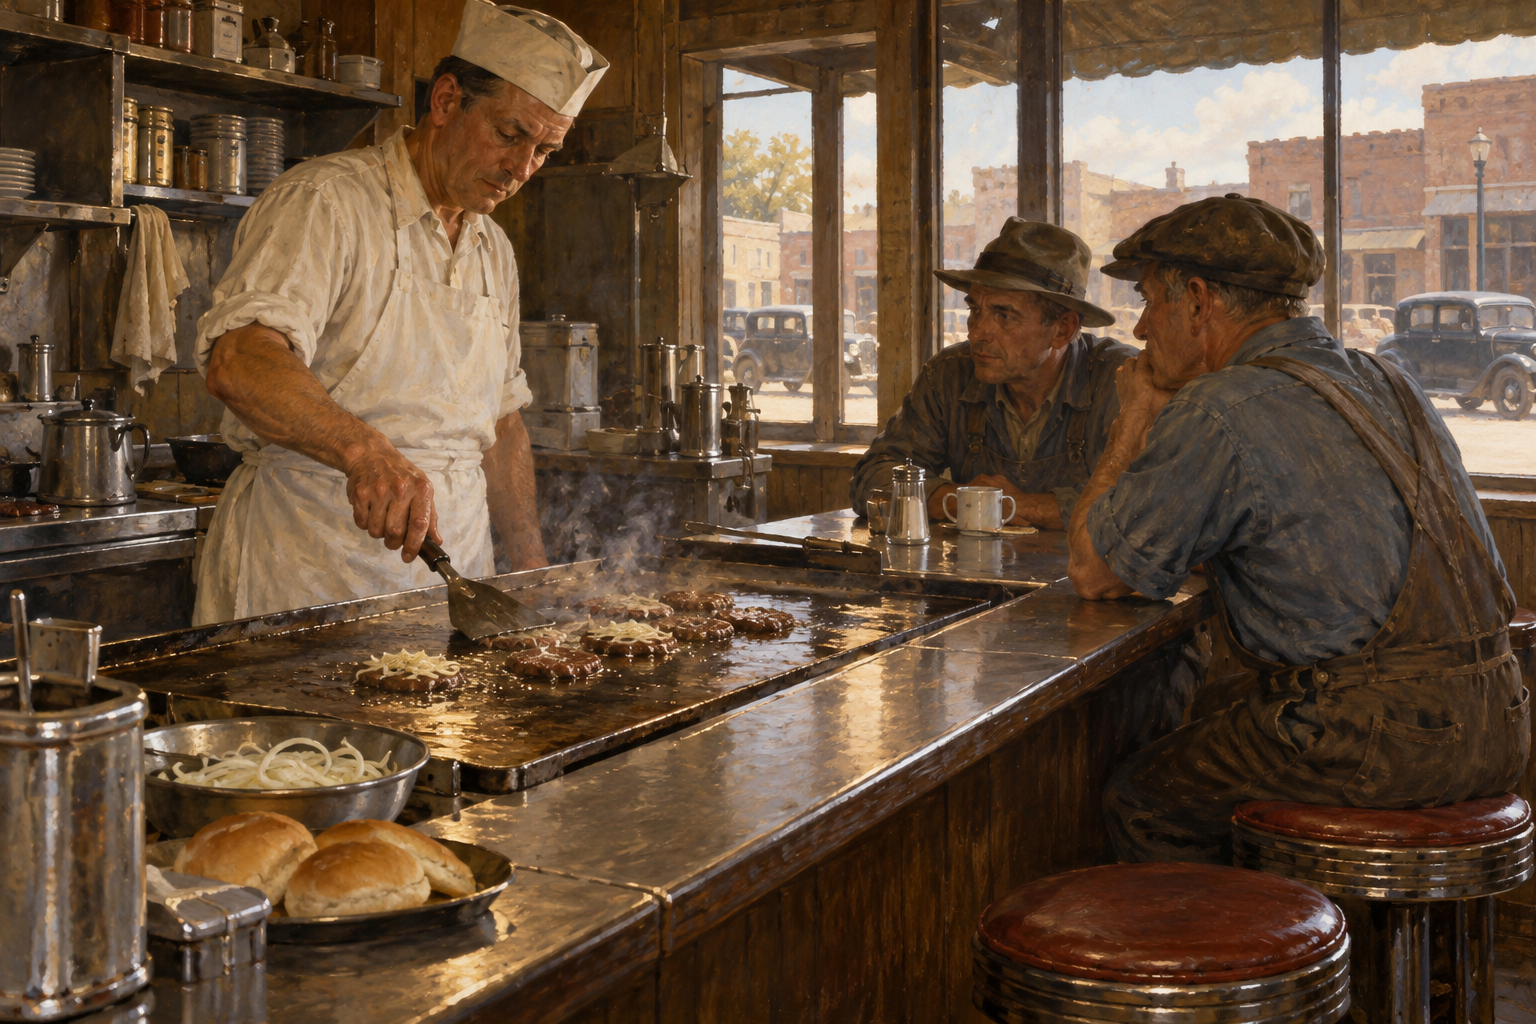
The smash burger belongs to the tradition of thin burgers cooked on flat griddles: diners, small burger joints and roadside restaurants where food was cooked quickly in front of customers. The technique of pressing mince against hot iron predates the modern restaurant boom around the word smash. Here, too, it is wise to distinguish a long culinary tradition from the story of a single day of invention.
A close relative is Oklahoma’s onion burger, where very thinly sliced onions are pressed into the meat. Food historian and burger writer George Motz describes its roots in El Reno and an economical idea: onions could stretch the meat further. Precise origin stories vary, but the connection between Oklahoma, thin griddled burgers and onions is well documented. In the pan, the onions become sweet, soft and browned.
Today’s smash burger has travelled on to restaurants and home kitchens far beyond the US. In Sweden, it often meets potato buns, mature cheddar and elaborate sauces. These can be delicious, but the basic idea remains modest: quickly seared meat, a yielding bun and toppings that can all be enjoyed in the same bite.
The mince: fat, cold and a gentle touch
Choose beef mince with around 20 per cent fat. Fat adds flavour and keeps the thin, fully cooked burger from tasting dry. Minced chuck works beautifully, but the word chuck is no guarantee of the right fat content. Read the packaging or ask at the meat counter. Ordinary beef mince with a suitable fat content is a better choice than an expensive but overly lean blend.
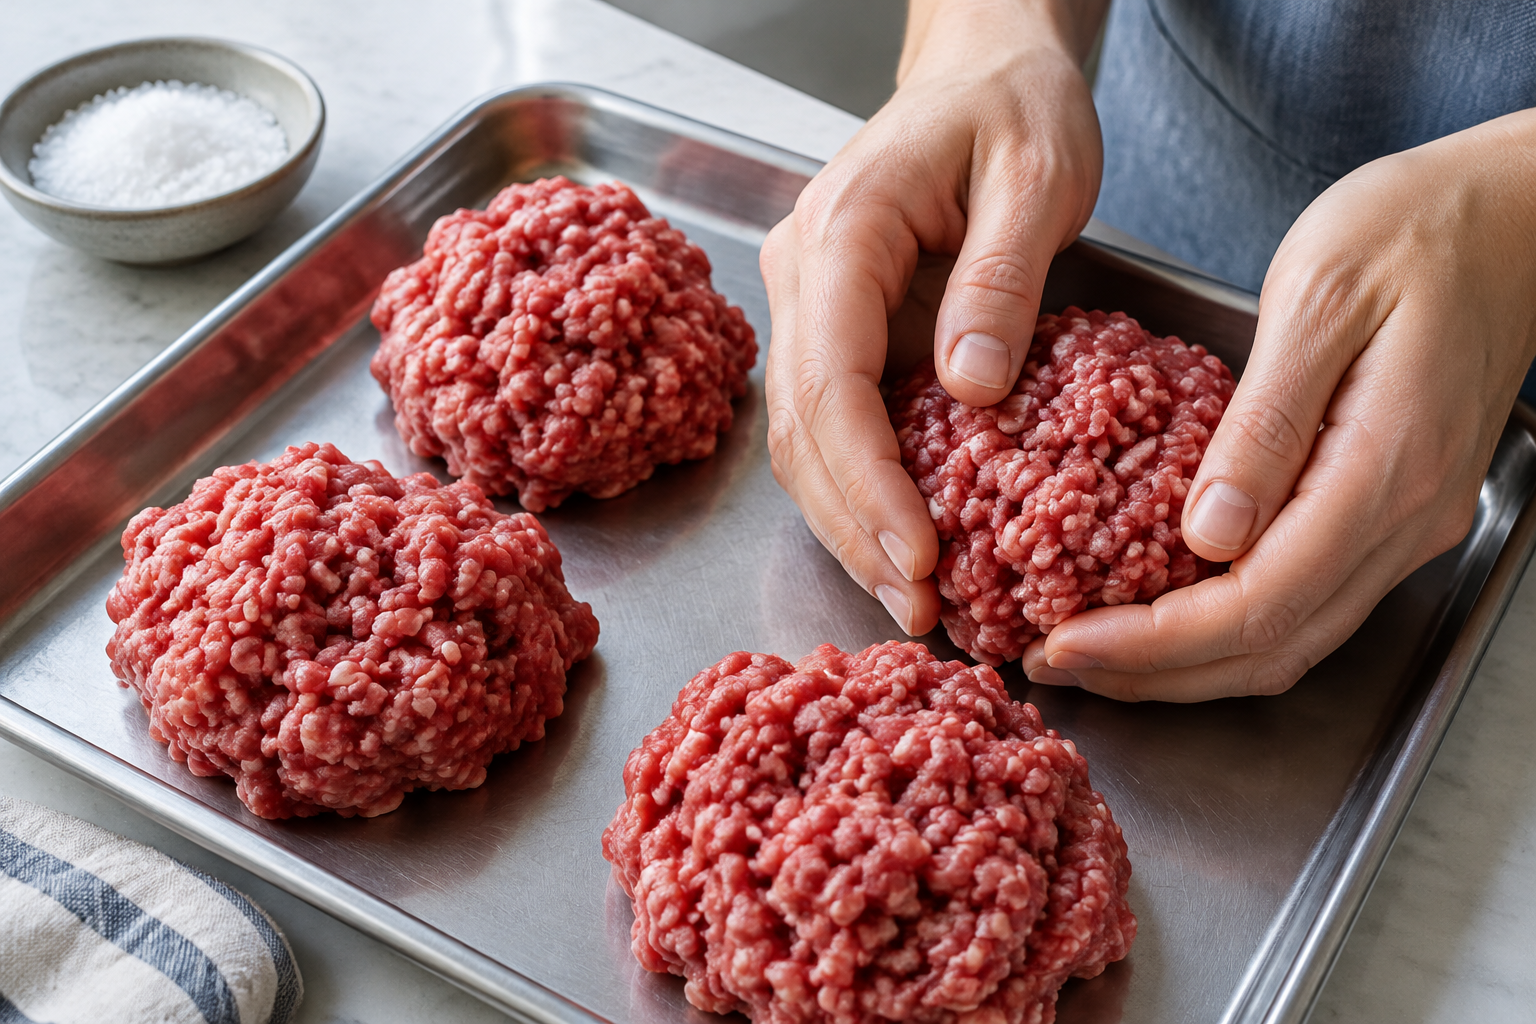
The mince should be cold and loosely shaped, not kneaded. Working it for too long makes the texture denser; mixing in salt ahead of time strengthens the bonds between the meat’s proteins. That is useful when making sausages, but less successful when the goal is a burger that breaks apart gently between your teeth. Shape the mince only enough for the portions to hold together.
Keep the seasoning simple. Salt on the surface after pressing goes a long way. Black pepper can be added after flipping or at serving, so it does not sit directly against the hottest cooking surface throughout. Onion powder, garlic powder and smoked paprika are possible variations, but start without them. You should be able to taste what the browning itself brings.
Good hygiene matters with mince. Unlike a whole cut of meat, minced meat can contain bacteria throughout, and the Swedish Food Agency recommends cooking it all the way through. A smash burger does not need a pink centre to taste good. Thin patties, enough fat and a short cooking time after flipping still give a juicy result. Keep the mince chilled until it goes into the pan, and use clean utensils for the cooked food.
A hot pan, one press and a sharp edge
The best tool is a sturdy cast-iron or carbon-steel frying pan or griddle. A smooth surface gives maximum contact; a ridged griddle pan does the opposite. Avoid non-stick pans for this technique, as very high heat and vigorous scraping are not suited to the coating. Outdoors, a flat griddle plate on the barbecue works well, but the grill bars themselves cannot produce the same continuous crust.
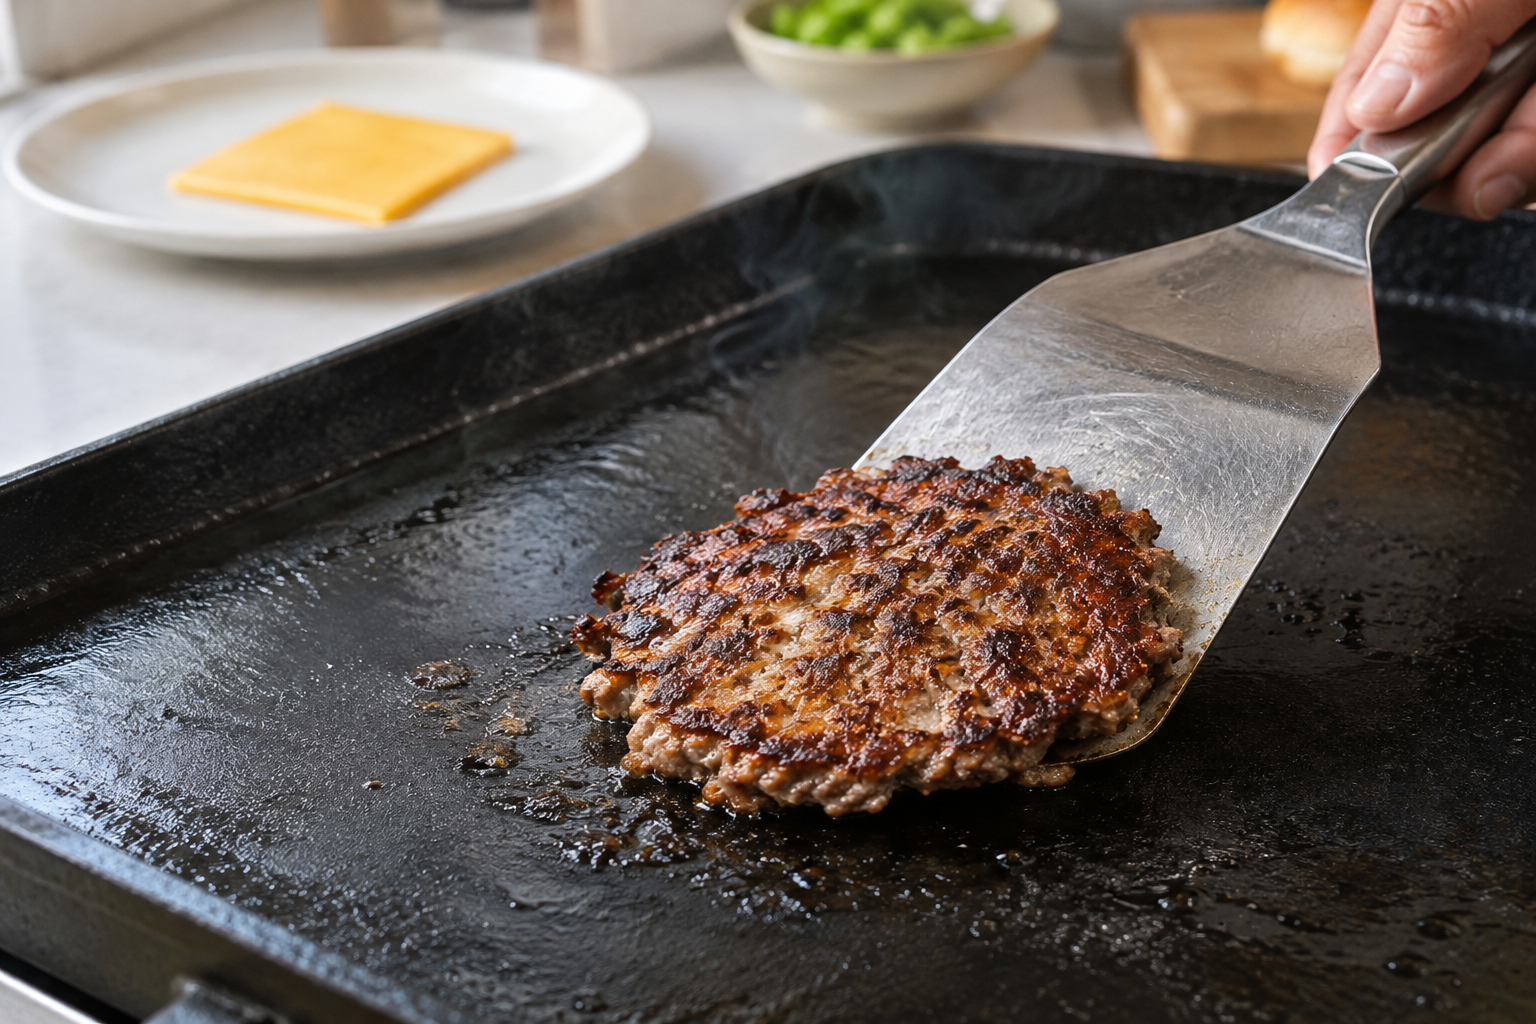
Heat the iron thoroughly and turn on the extractor fan. The surface should be hot enough for the mince to sizzle vigorously straight away, but there is no need to leave fat billowing smoke. A very thin film of oil can help at first; after that, the mince releases its own fat. Cook only a few burgers at a time. An overcrowded pan loses heat, and the meat risks simmering in its juices rather than browning.
Press immediately, while the mince is still raw and soft. Use a sturdy, broad metal spatula or burger press, ideally with a small piece of baking paper between the tool and the meat. Remove the paper straight after pressing. Aim for a thin patty with slightly uneven edges. Do not press again later: once the meat has started cooking, pressure can squeeze out juices without offering the same benefit.
Then leave the burger alone. Browning develops through Maillard reactions, in which amino acids and sugars, among other compounds, react at high temperatures. The drier contact surface develops both colour and roasted aromas. To keep the crust intact, you need to scrape the burger free, not gently tease it up. Slide the edge of the spatula firmly along the iron, flip and add cheese. The second side needs considerably less time.
The bun, the cheese and all that tang
A good burger bun should yield when you bite. Choose a soft, suitably sized bun with a thin crust: a potato bun, a regular burger bun or a moderately sweet brioche all work. A tall, sugary brioche can dominate, while chewy sourdough pushes the filling out. Toast the cut sides to colour them and help them stand up to sauce and meat juices.
Buy or bake? Shop-bought is an excellent choice when the focus is on cooking the meat. Feel the bun through the bag and choose one that is supple rather than dry and crumbly. Homemade lets you control the size and sweetness, but requires planning. Choose a tried-and-tested recipe for soft burger buns made with milk and a little fat, shape them fairly low and let them cool completely before splitting. Ideally, freeze them the same day.
The cheese needs to melt quickly. American processed cheese or cheddar-based burger cheese slices give the smoothest, creamiest melt. Regular cheddar also works, especially thinly sliced, but very mature cheese can release fat and melt less evenly. Choose according to what you want: a soft layer that holds everything together, or a more pronounced cheese flavour. For a double burger, one thin slice on each patty is enough.
Above all, the sauce needs acidity and just enough salt. Mayonnaise, mustard, a little ketchup and finely chopped pickled cucumber provide a solid foundation without calling for a whole spice cupboard. Raw onion adds bite, iceberg lettuce a cool crunch. Tomato is best when it actually has some flavour; let the slices drain. For an Oklahoma-inspired version, thinly shaved onion is pressed into the meat before flipping. Save that for another time, once you have mastered the basic technique.
Build for a great bite
Burgers are sociable food, but cooking them calls for a little organisation. Lay out the buns, cheese and vegetables in order. Have one area for raw mince and another for cooked food. If the pan only holds two patties, it is best to serve one double burger at a time. Let guests start eating while the next batch cooks; prolonged holding steals both crispness and juiciness.
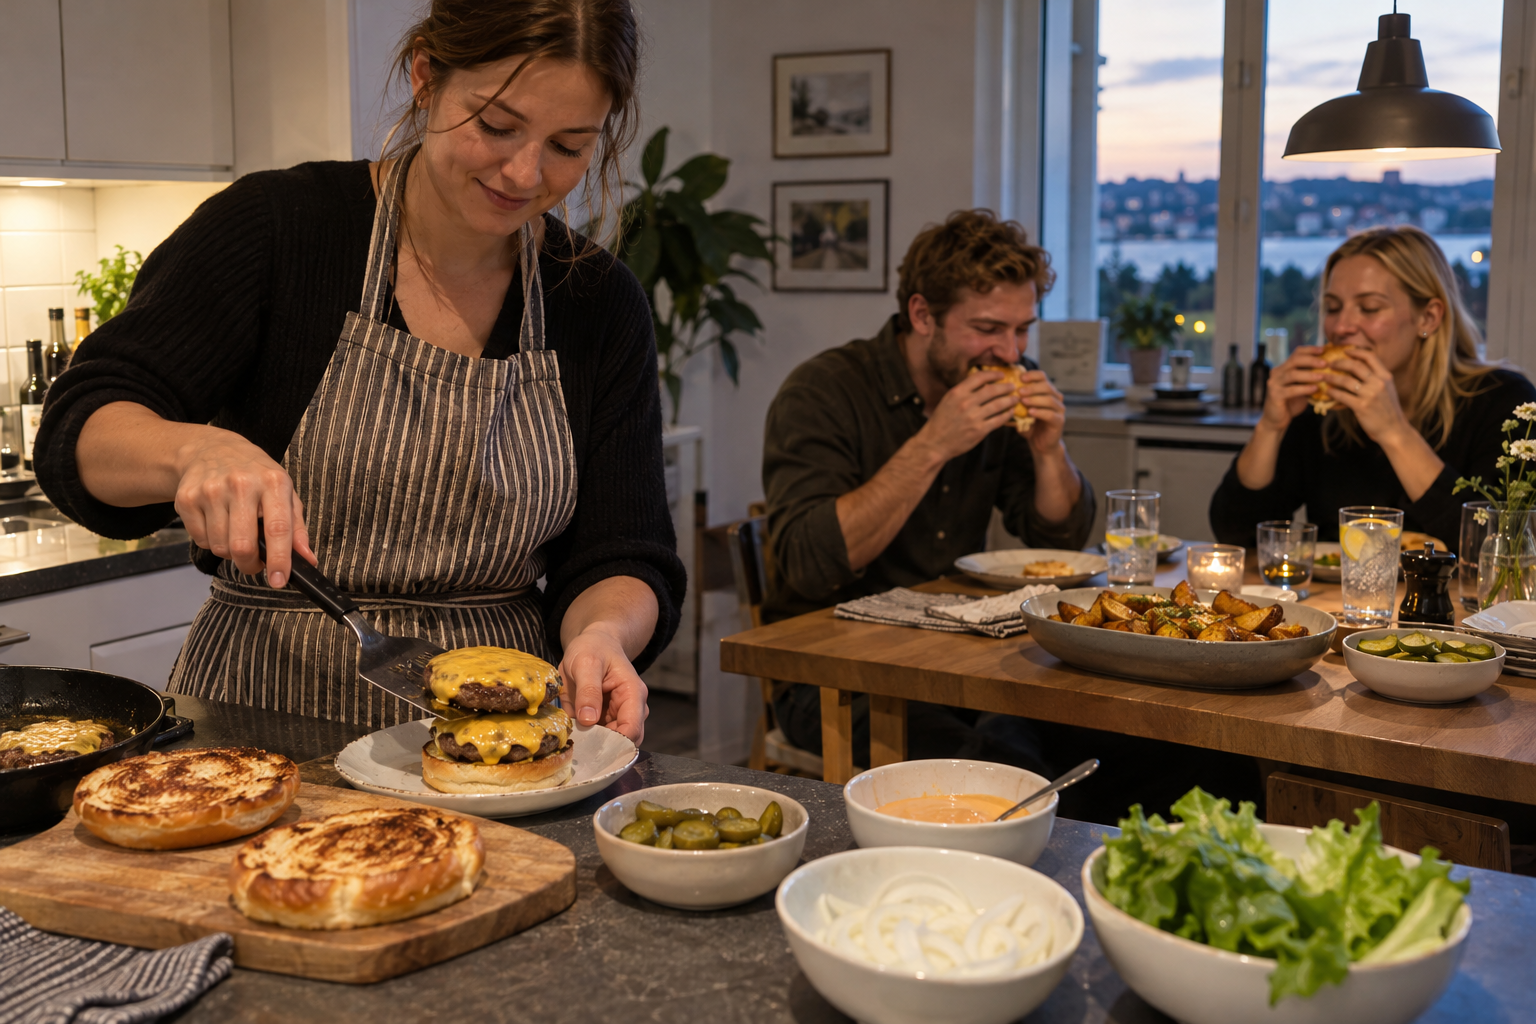
Build low and show restraint. A little sauce on the bun, well-drained vegetables and hot meat with melted cheese make a burger that holds together. A mountain of bacon, fries and extra sauce may look generous, but makes it harder to appreciate the star of the show. If you want heat, a few slices of pickled jalapeño or a little hot sauce in the burger sauce will do.
Keep the side simple: oven-roasted potatoes that look after themselves while you cook, or a fresh cabbage salad with vinaigrette. Sweet, heavy coleslaw alongside plenty of burger sauce can be rather rich. Serve extra pickled cucumbers on the side for anyone who wants more tang.
To drink, a crisp lager, a fruity wine with moderate tannins or an alcohol-free lager all work well. Sparkling water with lemon is also delicious and lets the seared flavour take centre stage. Start with the recipe below, get to know your pan, then change one thing at a time. The route to a truly great smash burger is repetition, not more toppings.
Double smash burger with cheddar and tangy sauce
Two thin patties per person provide plenty of browned crust. This recipe is designed for a large cast-iron pan, cooking one double burger at a time. Prepare everything else before the mince meets the iron.
Ingredients
Method
- 1Mix together the mayonnaise, ketchup, mustard, chopped cucumber and vinegar. Chill while you prepare the rest.
- 2Slice the onion very thinly. Rinse the lettuce and dry it thoroughly. Drain the cucumber slices. Lay the cheese slices ready on a plate.
- 3Divide the mince into 8 portions of 75 g each. Gently shape into loose balls without kneading. Return to the fridge. Do not mix salt into the mince.
- 4Split the buns and spread a thin layer of butter on the cut sides. Toast in a pan over medium heat for 1–2 minutes until golden. Place cut-side up on a tray.
- 5Heat a large cast-iron or carbon-steel pan over medium-high to high heat for about 4–5 minutes. Turn on the extractor fan. If needed, spread the oil into a very thin film. The pan should sizzle vigorously when the meat touches it.
- 6Place two balls of mince in the pan, leaving plenty of space between them. Immediately press them out one at a time to about 3–4 mm thick, using a sturdy metal spatula or burger press. If needed, use a small piece of baking paper between the meat and the tool, removing it straight away. Maintain pressure for about 8–10 seconds per patty.
- 7Sprinkle a little of the salt over the patties. Cook without moving or pressing them again for about 1.5–2 minutes, until the edges are deep golden and the undersides have a distinct crust.
- 8Scrape the patties free, keeping the metal spatula tight against the base of the pan. Flip, season with pepper and place a slice of cheese on each patty. Cook for another 45–90 seconds or so, until the meat is cooked through and the cheese has softened. Aim for at least 70 °C in the meat; a thin temperature probe can be inserted from the side. Timing varies with thickness and the heat of the pan.
- 9Spread sauce on both cut sides of one bun. Place lettuce on the base, stack the two patties on top and finish with onion, cucumber and the bun lid. Serve immediately.
- 10Scrape any burnt residue and excess fat into a heatproof container. Let the pan come back up to temperature and repeat with the remaining mince. Use clean plates and utensils for cooked food.
- A thin, flexible spatula can be difficult to press with. Use a sturdy burger press, but keep a thin-edged metal spatula for scraping the crust free.
- Dijon mustard can replace American mustard; start with half the amount, as its flavour is sharper.
- For an Oklahoma-inspired version, place about 25 g very thinly shaved brown onion on each ball of mince and press it into the meat. Flip so the onion cooks against the pan, and keep an eye on it to prevent burning.
- The sauce can be made the day before and kept covered in the fridge. Burgers are best freshly cooked – avoid keeping them warm while you finish all the batches.
Crisp oven-roasted potatoes with paprika salt
An easy-going side that goes into the oven before you cook the burgers. Parboiling roughens the surface, creating more little edges that can turn crisp.
Ingredients
Method
- 1Preheat the oven to 225 °C conventional. Put a large metal baking tray in the oven to heat up.
- 2Scrub or peel the potatoes. Cut into even wedges, about 2 cm thick at the widest point.
- 3Add the potatoes to boiling water and simmer for 6–8 minutes. The surface should start to soften, but the wedges should still hold together.
- 4Drain in a colander and leave to steam-dry for 3 minutes. Shake gently to roughen the surfaces slightly.
- 5Toss the potatoes with the oil and half the salt. Carefully spread out on the hot tray in a single, well-spaced layer, with a cut side facing down.
- 6Roast for 30–35 minutes. Turn after about 20 minutes and continue until the potatoes are cooked through and richly golden. Give them a few extra minutes if needed.
- 7Mix the remaining salt with the paprika and pepper. Toss the hot potatoes with the seasoning and serve immediately alongside the burgers.
- Crowding the tray makes for softer potatoes. Use two trays and a 210 °C fan oven if your oven is small; swap the trays around during roasting.
- Add the paprika after roasting to reduce the risk of it burning and turning bitter.
- For a fresher accompaniment, serve the potatoes with finely shredded white cabbage, lemon and a little rapeseed oil.
What goes in the glass
- BeerPale lager with moderate bitternessGentle maltiness complements the meat’s browned crust, while freshness and carbonation provide a contrast to the cheese and sauce. Moderate bitterness works particularly well with the tangy cucumber.
- WineFruity gamay, preferably lightly chilledFresh acidity and moderate tannins suit a juicy cheeseburger without making the combination with mustard and pickles too harsh.
- Alcohol-freeAlcohol-free pale lager, 0.0%Bready malt notes echo the toasted bun and browned meat. Choose a crisp, less sweet style that will not amplify the sweetness of the ketchup.
- Alcohol-freeSparkling water with lemonA light, unsweetened option whose fresh citrus aroma and bubbles contrast with the rich burger without competing with its seared flavour.
Enjoy alcohol in moderation. Alcohol-free options go just as well with the food.
Sources
- George Motz, The Great American Burger Book: How to Make Authentic Regional Hamburgers at Home (2016)
- Andrew F. Smith, Hamburger: A Global History (2008)
- J. Kenji López-Alt, The Food Lab: Better Home Cooking Through Science (2015)
- Harold McGee, On Food and Cooking: The Science and Lore of the Kitchen (2004)
- Livsmedelsverket, Råd om hygien, hantering och tillagning av köttfärs
Ask questions about "World-class smash burgers – crisp edges, juicy beef". Answers are based on the magazine's own articles.